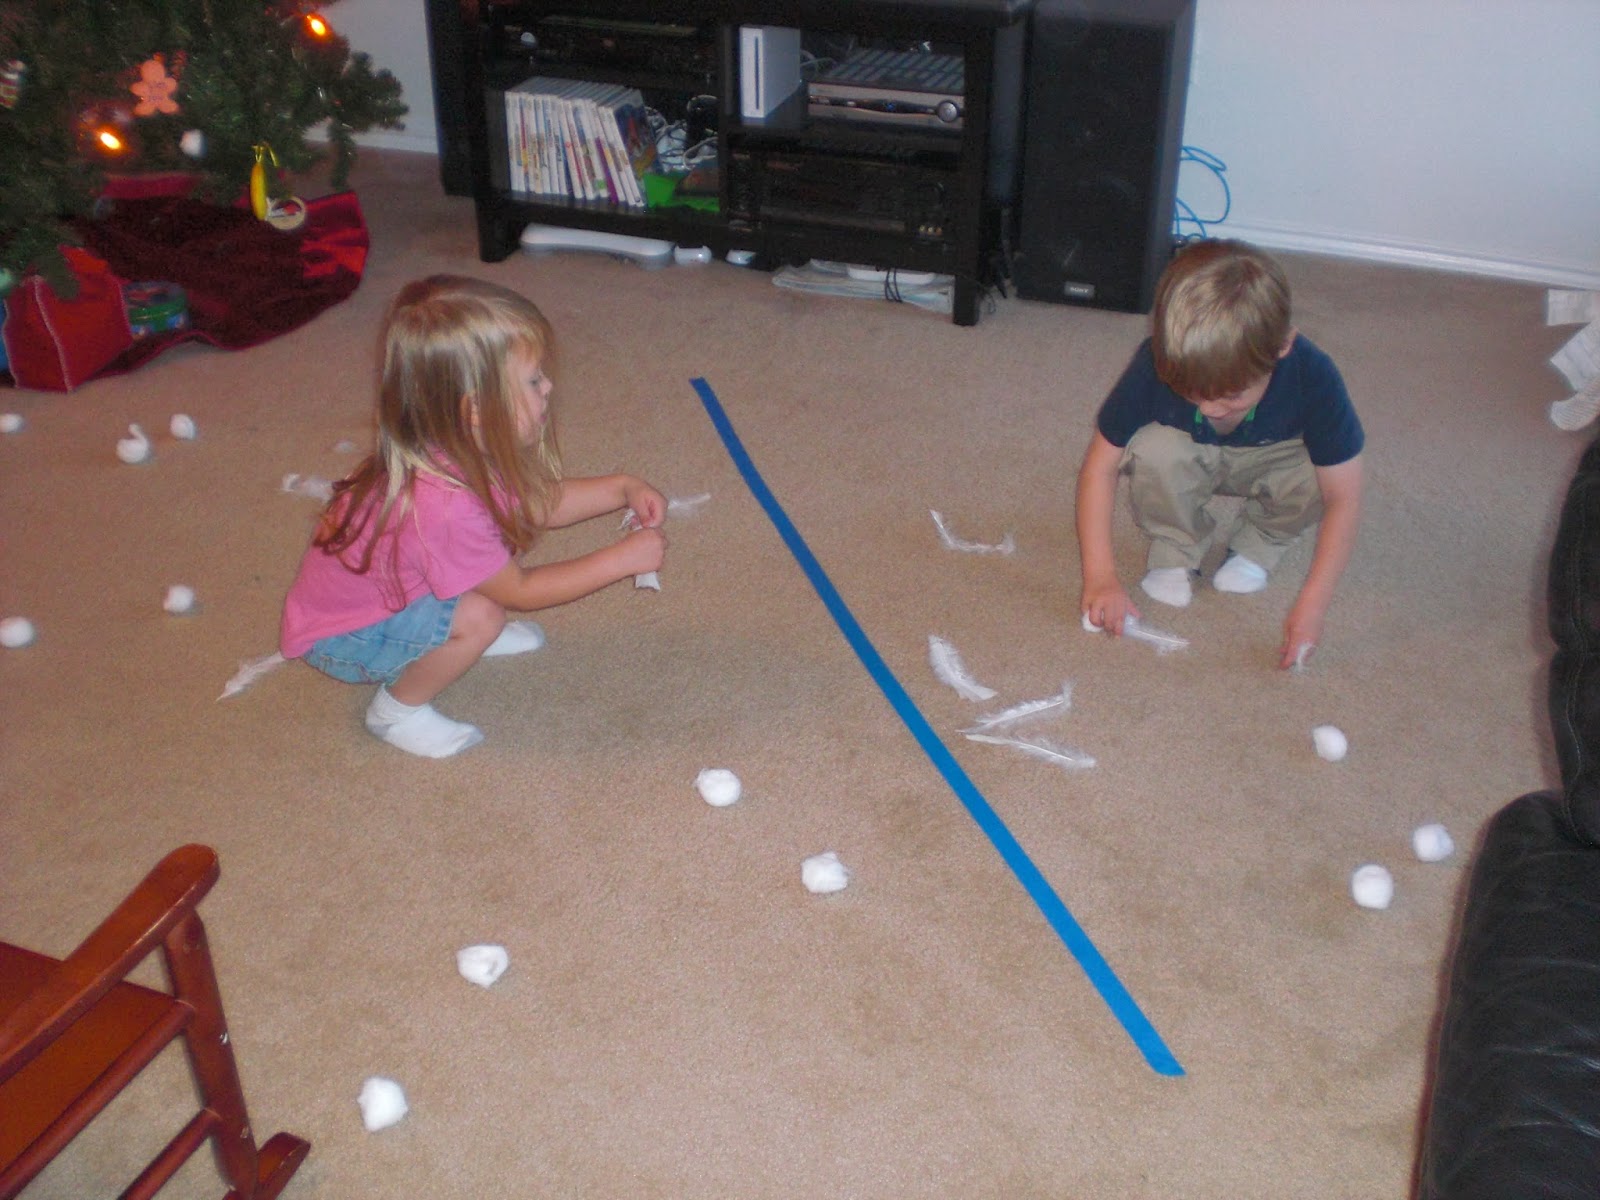
It's difficult to get into the Christmas spirit when you are wearing shorts and short sleeves. So I decided to make a "snowball" fight for the kids. Of course we didn't have real snow so I used cotton balls and white feathers. I put a blue line (painter's tape) to divide the room and spread the "snow" on both sides. Each child had to stay on their own side for the entire game.
All I told them at the beginning was you are going to throw the things on your side to the other side. The first one to get their side free from "snow" wins. They started slowly picking things up one at a time and throwing them over.
It didn't take long till they figured out that picking up a lot and throwing it all together was a much better strategy. Eventually we made the rule you could only throw 2 things at a time which makes the game last a really, really long time. It's easy to clean up, the kids had fun, it develops gross motor skills, problem solving, oh and I didn't have to entertain them for an hour!
I wanted to share some of our favorite art projects for Christmas.
This is a box with a piece of white foam taped down in the middle. The red paint is on the side. Typically I would call this marble art. I would let the kids roll marbles around in the box thus making it look like candy cane stripes. However, with kids who still occasionally put things in their mouths, we don't have marbles. So I found a golf ball and it really had a cool effect. The bumps gave the appearance of texture. I ended up taking the foam sheets and cutting them into bookmarks. I added a small photo of the child who made it to the back and we gave these as gifts to some of the college students who worked with my kids.
Here's a very shaky video of what this process looks like.
Each year I also have the kids make an ornament. They started by tearing red and green paper into pieces. We added water and blended it into a mush. Then they pushed the mush into the cookie cutters they picked - she has a candy cane and he picked a sled. Once full, we set them to dry in an oven on very low heat. Just make sure they are pushed as tightly as possible so they don't fall apart when dry.
She did red and green stripes, while his sled is mostly green. I don't force them to wear the hats, it was their idea, but made for cuter photos.
Santa hand prints. This is fairly self explanatory one that the kids love.
Most kids love getting to paint with their feet so this was popular.
This was the project we used for the front of the cards the kids gave to family.
Just a couple of finishing touches.
You could always add more stickers for ornaments, but we did so many of these the star on top was perfect.
Our tradition is that the day after Thanksgiving we avoid the stores and go see dinosaurs. Wonderful Husband has to work so I take the kids to see the Dinosaurs Live exhibit at a local nature sanctuary.
These are all life size animatronic dinosaurs.
Some you can touch and some are roped off as you walk the path.
My kids loved saying hello to each of them.
They weren't always as excited when the dinosaurs said hello back...
I just love this photo op. Clearly the kids were rather happy about it as well.
To give you an idea, this guy is 48 feet long.
So once my kids understood the dinosaurs were going to talk to them they began to expect it. They told this guy all about Thanksgiving, before he would return the greeting... haha
This was my favorite video from the day. This dinosaur doesn't look any different than the others...
We usually decorate for Christmas the weekend after Thanksgiving, but I just had to share this photo now. My favorite part? His jeans are on backwards. They have been dressing themselves for a long time and the phase of putting pants on backwards just makes me happy.