Showing posts with label art. Show all posts

Tuesday, December 19, 2017

Daddy's Office Fun

First, did you see the cool characters I posted about yesterday? Here are some of the activities the kids did at Daddy's office.

They made hats (money is always the appropriate accessory)

Train rides

Art projects (cards and snowflakes) before traveling to the moon

Thursday, October 5, 2017

Finished Pumpkins

We love Halloween, in case you didn't realize it. Here are the finished pumpkins all done by the kids.

Melted crayons, painted "doughnut"

Olaf! Get your head back on

That's better.

Wednesday, October 4, 2017

Wordless Wednesday

Melted Crayon Pumpkin

Tuesday, October 3, 2017

Painting Pumpkins

He knew exactly what he wanted to do and it required buying 3 pumpkins and multiple cans of spray paint. Yes, I'm the crazy mom who trusted my 7 year old with spray paint - he was closely supervised and outside in a well ventilated area.

First experience spray painting

This is going to take awhile.

Days later, still painting

Come back on Wednesday to see the finished result which is really cute.

Monday, October 2, 2017

Painting a pumpkin

Carved pumpkins don't last very long before rotting. However, whole painted pumpkins allow for creativity and a much longer display time. She picked a white pumpkin and got to work.

Painting the top pink

 Getting ready to add more colors

 Her finished pumpkin
(doughnut with pink icing and sprinkles)

Monday, August 21, 2017

Flying Homemade Kites

One of the awesome parts of our curriculum is that it connects everything. The language arts books align with the science and social studies curriculum and they include art and other types of learning in almost every unit. Here they were reading Ben and Me, studying electricity and magnetism, and used their artistic and fine motor skills to build a kite. These were nice kite making kids using a light weight cloth rather than paper.

Both kids pulling their kites 

Running through fields is pretty much a perfect school day 

Beautiful

So I didn't get any up close pictures of the kids or the kites, but this was such a fun lesson and we certainly picked a beautiful day to do it.

Thursday, August 10, 2017

Throwback Thursday: Art with Babies

This post was originally published in February 2011.

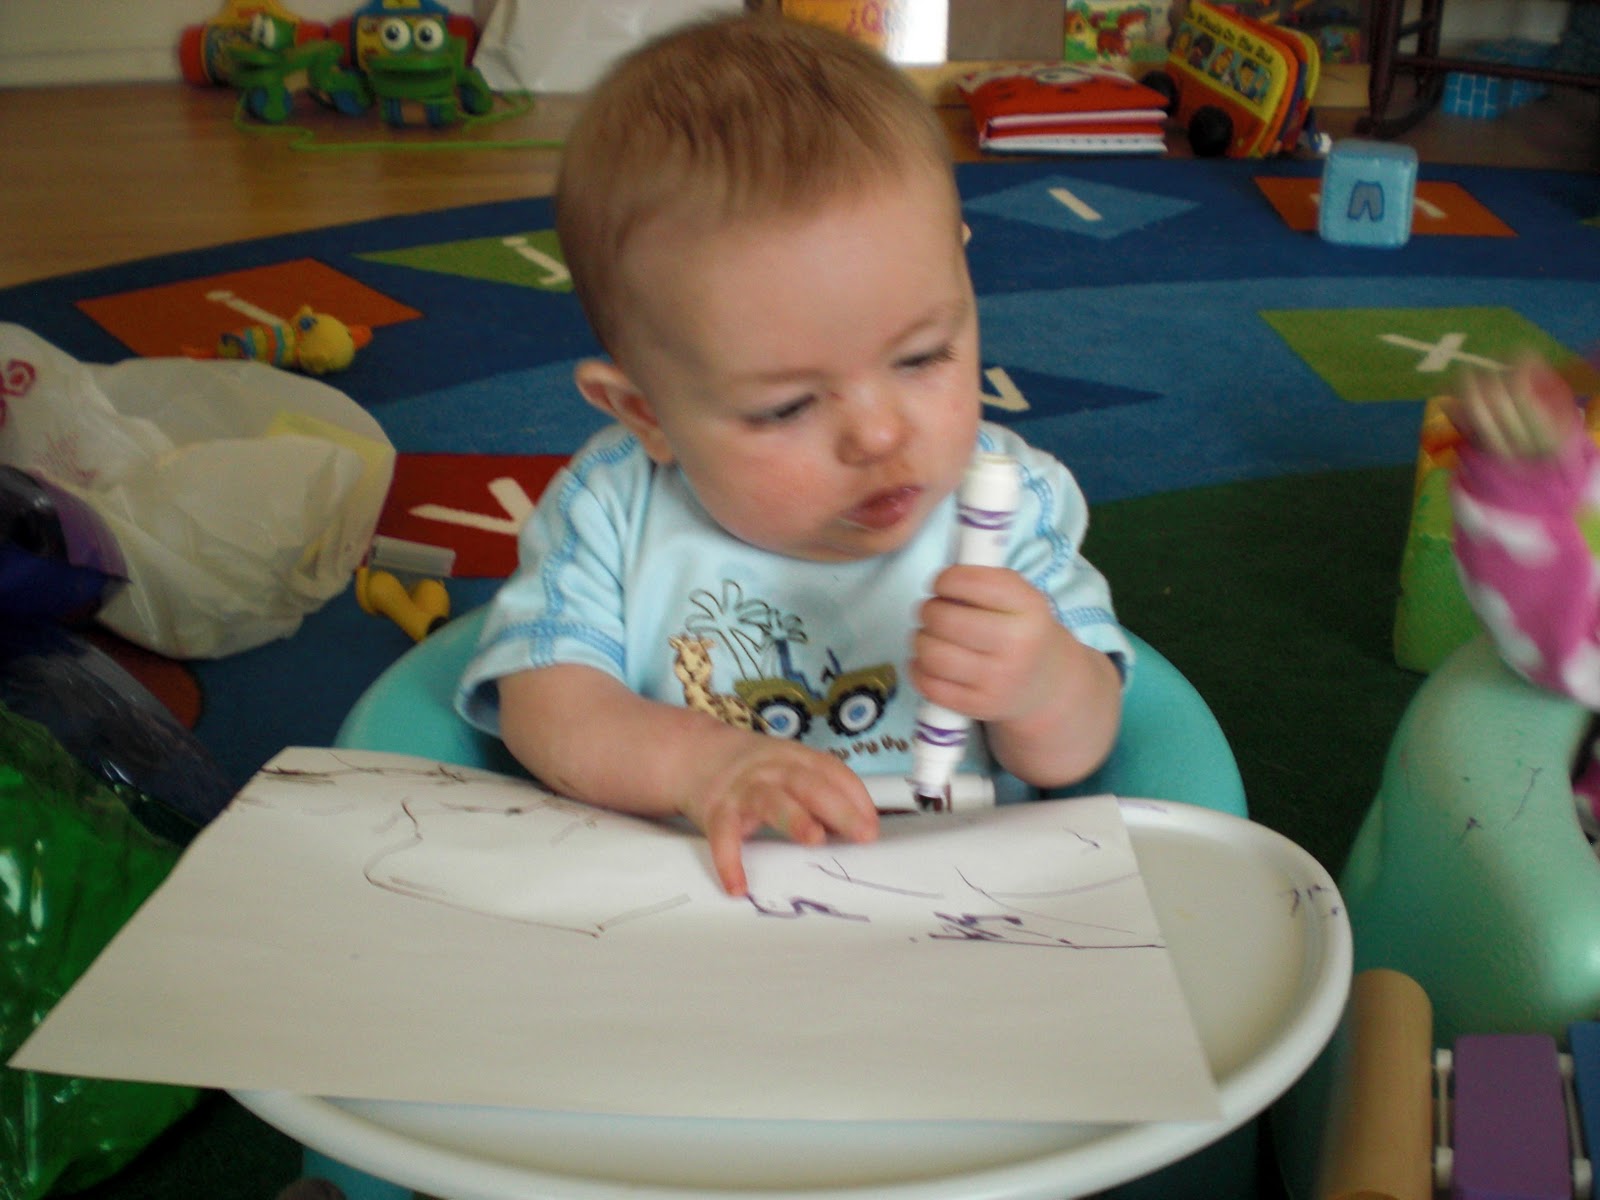
I love doing art with kids. I think it is important to use a variety of textures and materials. I prefer process over product art. However, this post is about starting at the beginning. We started doing art when the kids were around 3.5 months old. This was the point they could hold a marker and were learning how to control it.

 Yummy markers
Sitting in Bumbo to color

Many people are surprised that I start with markers. Most people assume starting with a crayon would be better since it is less messy. If you are trying to avoid mess when doing art with children, then you aren't doing it the way I would. Markers are typically larger than crayons (there are always exceptions) which make them easier to hold. They will also mark on paper with very little pressure. If you lightly drag a marker across the paper you get a line. Try it with a crayon and most of the time you get nothing. The bold larger lines/marks are easier for babies to see and make sense of as they experiment. Babies will also put everything in their mouth. Markers have no taste and if they put the marking side in their mouth, the worst that will happen is brightly colored poop. Crayons being made of wax, taste good to young children. If you give them something that tastes good and tell them not to eat it you are fighting a losing battle from the beginning. This is why we start with markers.

 Look! My paper is still clean, but my tray and brother needed some color.
Can you draw two different things simultaneously?

I encourage the kids to only color on the paper, however as you can see that isn't what usually happens. That's ok because it all wipes off easily. It washes off clothes and baby wipes will clean it up off most surfaces. We don't use markers on carpet or near furniture. The markers are not kept out at all times. They are only brought out when I am right there to supervise. This is more important once they become mobile, but until they learn not to color on carpet, they aren't left out. As babies, we did art at least twice most weeks. That increases as they get older and have more interest and more variety. Most of the time, I don't have photos of them doing art because it's difficult to supervise and take photos. 

Marker on face, hands, arms, clothes, and some on the paper

One of the awesome moments of being a mom and/or teacher is seeing what a child is thinking when they finally get "it" - whatever "it" you are currently allowing them to explore. Here you can see my son as he realizes one end of the marker is special. He would touch it to the paper, pick it up to look closely at the paper, look back at the marker and try it again. After doing this multiple times, he started laughing. He tried using the other end and nothing happened, so he set it down and threw a fit (he was still a baby after all). I turned it back over for him and he started all over again. 

Discovering how a marker works

Friday, May 26, 2017

Dallas Museum of Art

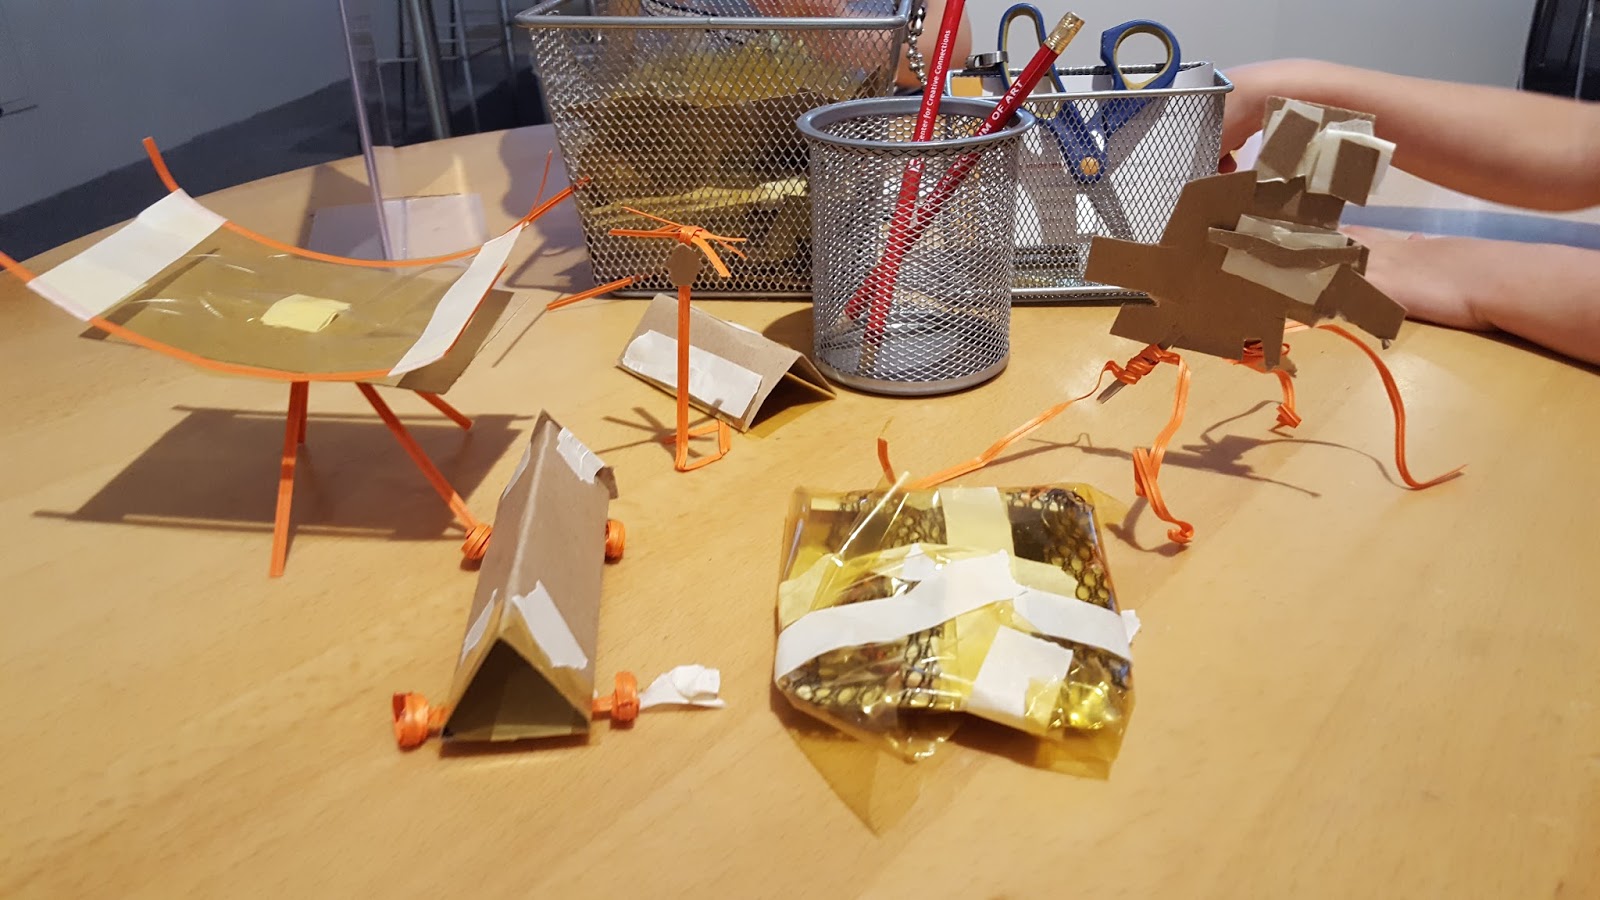
We went to visit the Dallas Museum of Art and while we enjoyed looking at the beautiful art, the favorite area is the kids' section. Here kids are given art supplies, inspiration, and set free.

Creating sculptures 

Finished results 

A couple of days later he created this. I love when art leaves a lasting impression!

Thursday, May 18, 2017

Spring Festival, part 2

In addition to inflatables (yesterday's post) they had some great art projects for the kids.

You peel the stickers off and pour on sand 

It creates an awesome effect 

Her sand castle picture 

His UFO picture 

Then they went to paint wind chimes

Monday, May 15, 2017

Happy Mother's Day

I all of the mothers out there had a wonderful Mother's Day. I was spoiled by my attentive family. :)

The Tree of Goodness
Green "leaves", brown "trunk", and colorful "flowers"
I love the creativity! 

Handmade Gifts
I was given a selection of stickers (in my right hand), a homemade vase with homemade flowers (in my left hand), and ear muffs (on my head of course). I love them all!

Friday, May 5, 2017

Asian Art Museum

After studying Asia for school work, we visited a local Asian Art Museum.


Tuesday, March 28, 2017

Rainforest Dioramas

The end of our rainforest unit required the kids making a diorama. I gave them each a shoebox, open access to all of the art supplies, and a rubric. Then they asked if they could use some of the plastic animals and plants and I agreed. They both did a great job.

Both of them side by side

SweetSon's diorama
He built trees and even had a monkey hanging from the vines connecting the trees. There is an ape sitting on the large rock as well as many other animals hidden. There were 7 different animals included in his diorama. He had a plan from the beginning when he started painting the background and it seemed to all work perfectly for him.

Sweet Daughter's diorama
She stood the shoebox up and went in an entirely different direction. She also has 7 different animals hidden, but I loved that she used (with permission) some of the blue strings off of a pompom to hang as rain. She also included a human figure to be a scientist observing the animals. She didn't have a plan until it all came together and looked great.

Monday, March 27, 2017

Painting Time

When we get set up to do painting, we take it seriously. Here you can see the set up and process that works for us.

Work on flooring that is easily cleaned. Then use large paper (we used the back of paper that had already been used on the easel with markers) as a base to define where the paints should stay. We use paper plates as pallets with 5 colors each. Instead of cleaning the brush between each color, we assign one brush per color. Each child chooses which colors they want to use.

These are the finished products. 4 paintings for each child and the clean up is a breeze. The plates go in the garbage. Any paint that got on the floor or hands is first cleaned with a baby wipe before a more thorough wash. Once the paintings are dry, the paper goes in recycling. The paintbrushes are all washed out together.

Monday, March 13, 2017

Around Town

Making art at IKEA
IKEA offers free projects occasionally and this is just one of them. During spring break I think they made (and ate) cookies one day, these decorative eggs one day, and they decorated and planted flowers another. It's awesome living so close to IKEA.

This is at a basketball game. While the game is happening they have tons of activities for the kids - bounce houses, hula hoops, games, activities, etc. It really makes it difficult to focus on the basketball game though!

Mini golf - at Daddy's office of course! This is why they always want to go to work with Daddy.

Monday, January 23, 2017

Boxes in the Backyard

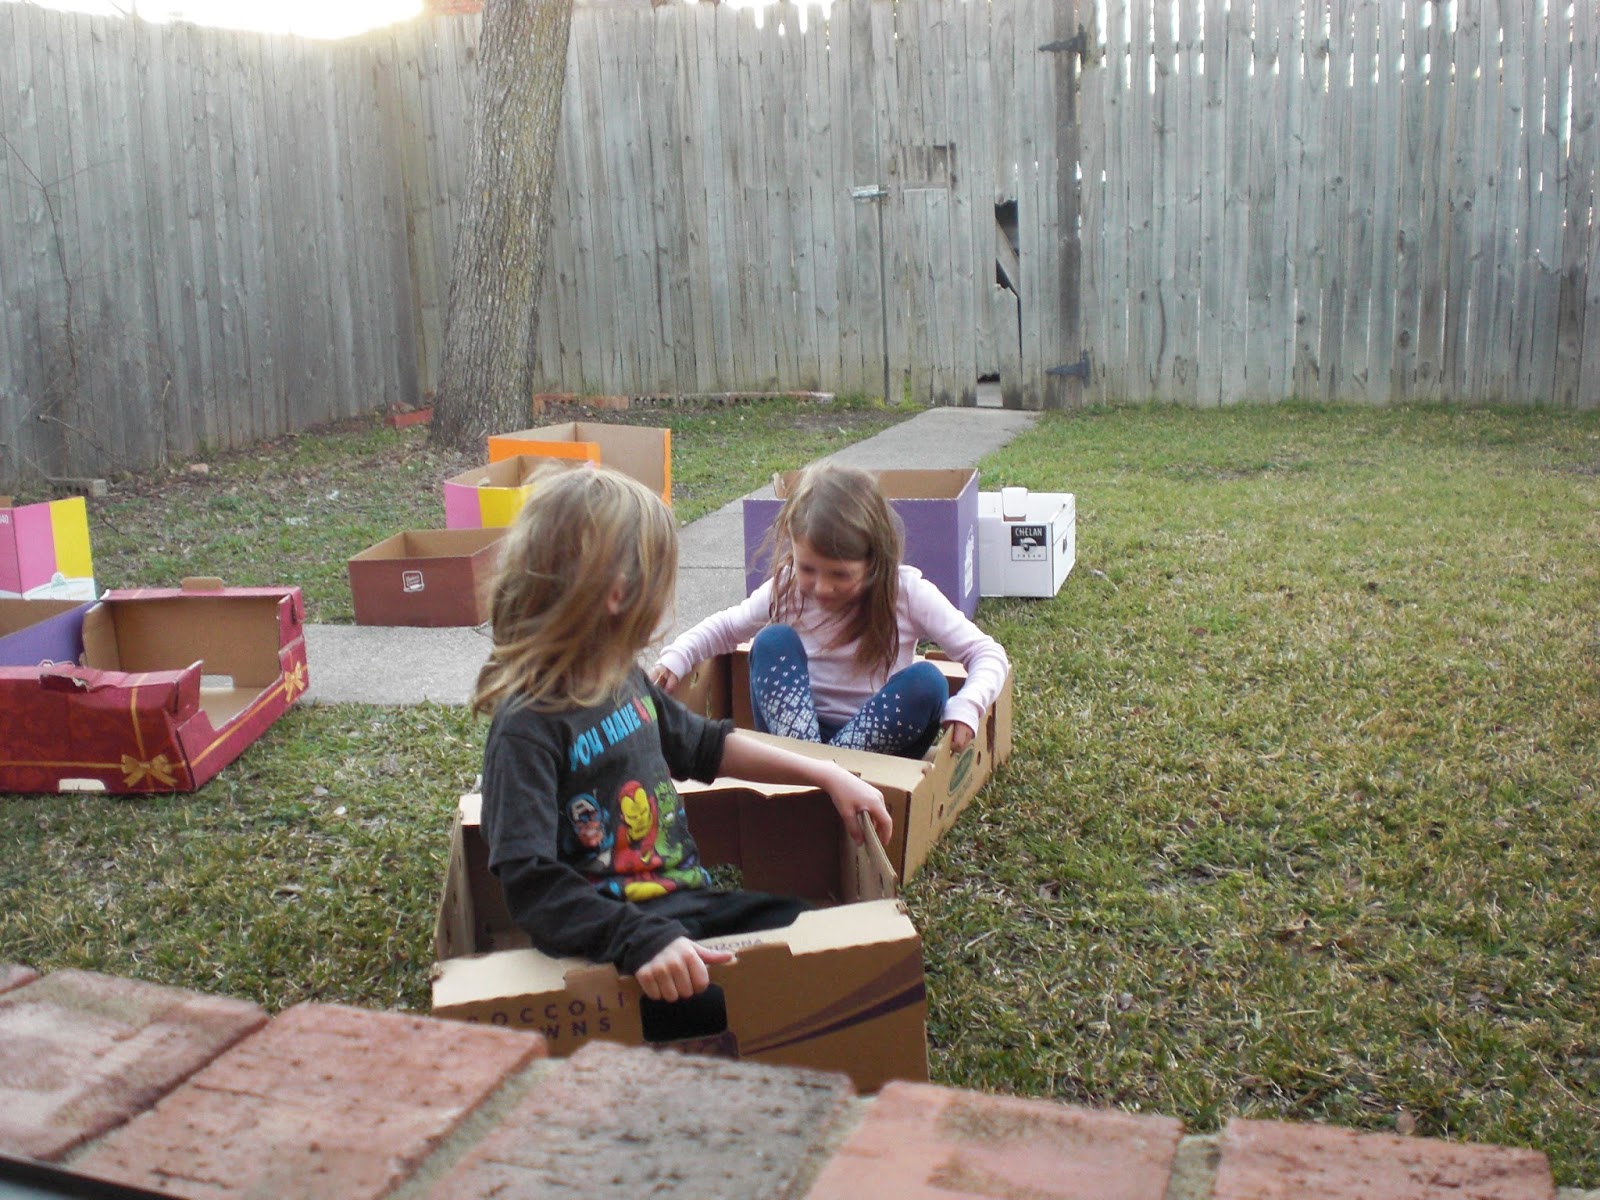
We started shopping at Aldi, which means every week we come home with a cardboard box (Aldi doesn't have bags, but you can take the boxes if you can find an empty one). I was saving these because I knew at some point they would be used. One day the kids wanted to play outside so I invented a "game." It's called "Boxes in the Backyard!" I threw the boxes into the middle of the yard and told the kids to have fun.

Building a fort

Here the boxes were each houses in a neighborhood they were building

Here the boxes were boats, the grass water, and the sidewalk was the dock

Why do we buy them toys? This is an awesome game and they never did get tired of it. If only I had more room to store boxes. As it is, I now have to hide when I recycle them because I'm out of room.

Thursday, December 8, 2016

Christmas Crafts

December really does seem to be a month full of crafting! Here are just two of the many projects the kids worked on this month.

Decorating their own foam gingerbread houses

Tiny tree!
This was a really cool project. The tree it self is a wooden dowel with silver pipe cleaners wrapped around it. The tiny ornaments are Shrinky Dinks! In case you don't know what that is. There are outlines of pictures on plastic. You color in the pictures then place them in the oven. They curl up, flatten out, and are now tiny hard plastic ornaments. So much fun!

Tuesday, November 1, 2016

Paper City

The kids saw a carpet at a store designed to drive cars on - the type with roads and buildings on the carpet. Rather than buy one, Wonderful Husband let them design their own.

They spent hours designing it and then playing with it.

This is so much better than buying one already made.